Have you been wanting to create an amazing place for your morning coffee? Here is a fun and beautiful repurposed Old Deadbeat Dresser transformed into the coolest coffee bar!!
What is holding you back from painting that old Deadbeat Dresser?? Would you like to create a new Coffee Bar??
If you have an old dresser just setting around, taking up space in the garage or the basement, and you are thinking about getting rid of it – think again!!
Take a look below and see if this is something that could save it’s life!
WANT TO LEARN HOW EASY CHALK PAINTING REALLY IS?
 If you are NEW to CHALK PAINTING and READY to learn how EASY it really is then this CHECKLIST is for you!!
I found this old dresser at a garage sale and most likely it was there because someone thought it was a goner, had no life left. But when I saw it and looked at it – up close and personal- I thought – I love those little drawers, and then – it “winked” at me! We had a creative connection! I knew it had potential and I had an idea!!
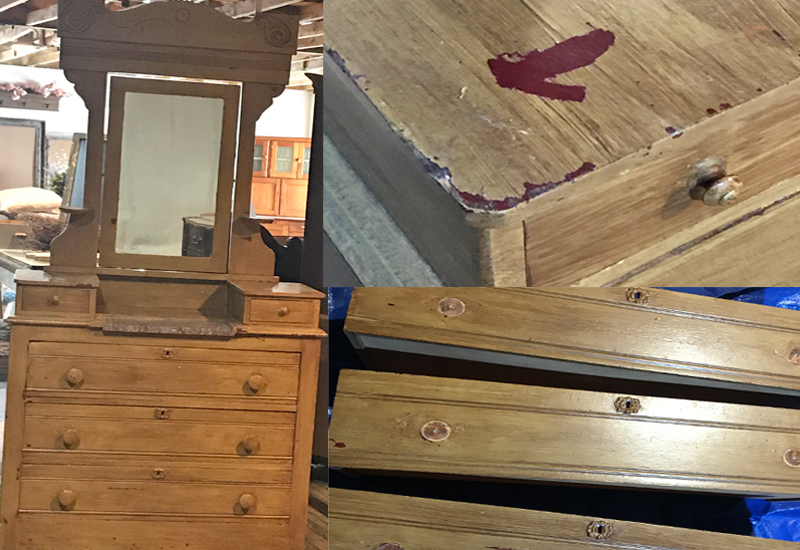
I had been wanting a “Coffee Bar” for quite some time now and had just not found the right piece to repurpose. In my mind I was thinking of something like an old hutch type of coffee bar – but when I saw this dresser a vision started to emerge. I could see the little Kuerig coffee pods in those two little drawers. And coffee cups setting on top of the little drawers, the Kuerig Coffee Maker right smack-dab in the middle!
I checked it over a little more and realized it was a very solid piece, it “had good bones”, so I like to say! And really, even though the old paint was peeling off in spots – it looked like there wouldn’t be too much prep work…..Yay!!
So I loaded it up in the back of the truck and headed home with my new treasure!! All the while, thinking about how much fun this piece was going to be!
Once I got it into the shop I was ready to start this “Deadbeat Dresser Revival-“
If you haven’t already, check out the “7 Simple Chalk-Painting Tips for Beginners” here! You can also find the “Ultimate Chalk Painting Supply List for Beginners”!
The first thing that comes to mind when I start thinking about repurposing a piece of furniture is, of course, the color! Sometimes this can be a hard decision because you may not know for sure what affect you want this piece to have on the room where you will put it when it is finished.
Sometimes you may want it to be a real focal point and stand out it the room where it will ultimately live and other times you may want it to be more neutral – becoming more a of a seamless part of the decor in the room! The best part is – YOU get to decide!
First:
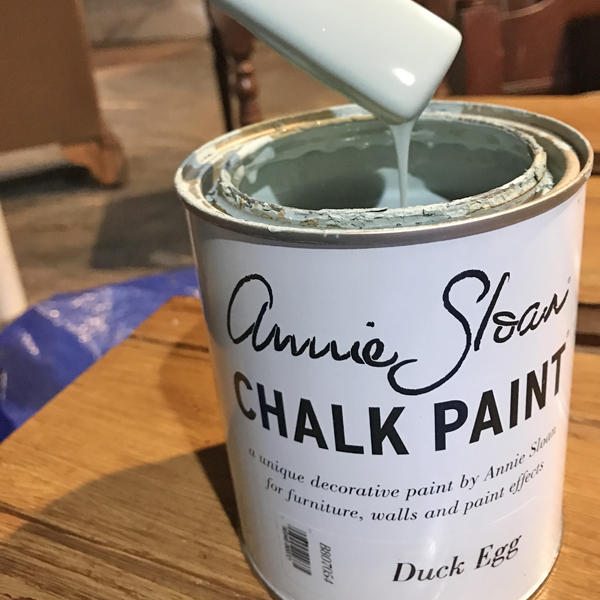
I decided to use Annie Sloan Chalk Paint® for this project. It is my go-to paint for so many reasons, but most of all because it is so easy to use! And of course, because the end result is so beautiful!!
I chose a beautiful light and airy color – Annie Sloan’s Duck Egg! It is one of my favorite’s, because I can almost call it a neutral color in my mind. I love that I can mix and match this color with so many other things!
Second:
To get this dresser ready to paint I just made sure that it was clean. Use a wet rag to wipe off any dust, dirt or grime and then let it set a little bit to air dry.
With Annie Sloan Chalk Paint® – you don’t have to do much prep work to your piece. Which means on most pieces no sanding or striping off any finishes before you start – which I absolutely love. (If you have something that has a rough spot or deep gouges that you don’t care for you may need to fill and sand that out, but if not you are good to go!)
You can also paint right over any surface. Notice in the “before” photo of this dresser that it has some marble on the top front. I will just paint right over it!
It’s that wonderful!
Third:
To prepare my paint I like to turn the can upside down and let it set for a few minutes, giving it time to move the paint from the bottom of the can to the top. Then I flip it back over. This allows the paint to start to mix by itself.
Now – Open that can of paint, use your wooden stir stick and stir up the magic!!
Ready – Set – Paint!!
The pictures below show the step-by-step progress as I worked through this fun process of turning the Deadbeat old Dresser into the Coolest Coffee Bar!!
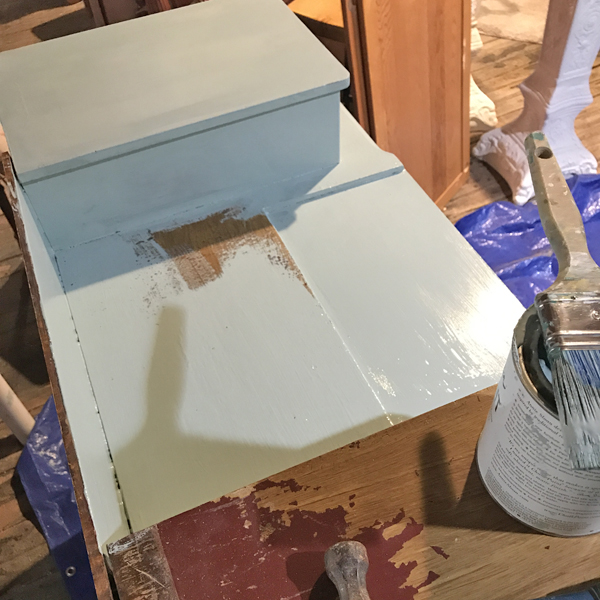
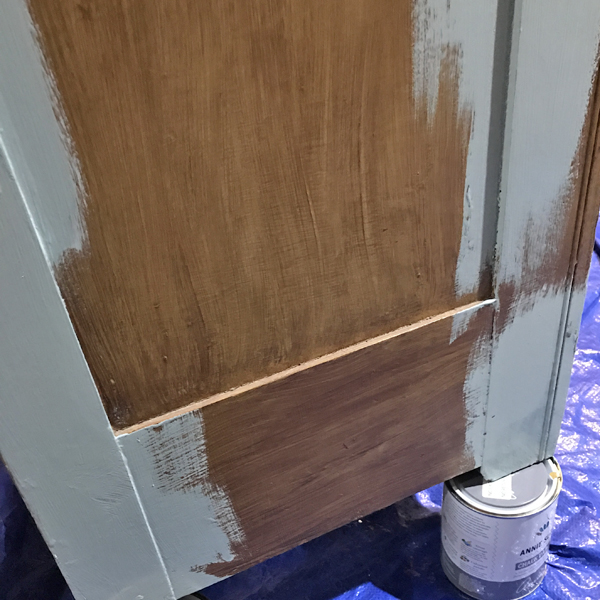
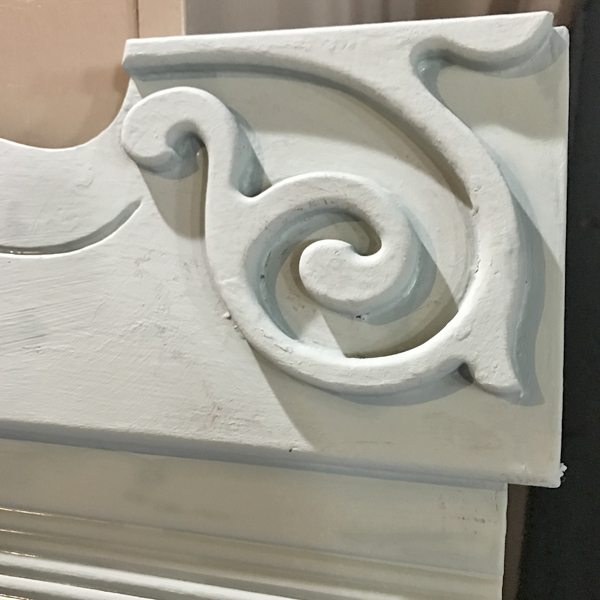
little crevices and watch for drips!
Fourth:
Now that we have the first coat of paint on you can determine if you need a second coat. It will depend on your project, but if you think it looks splotchy or you can see through it, give it another coat. The majority of the projects that I paint take two coats!
Fifth:
Here is where you get to make another decision- “to distress” or “not to distress!”
By distressing, I mean that we will be sanding off some of the paint that we have put on it to give it an old and used appearance. (I know, I know – you worked so hard to get it on there and now we are going to sand it off?) This process makes it look older and is a very popular look if you are trying to create a farmhouse or country style piece! You see many commercial built new pieces of furniture with distressed finishes to make them appear old or vintage! Most of the time they are very expensive – which is one more great advantage to chalk painting your own furniture pieces!! It is very cost effective compared to buying new.
If you decide that you like your piece just the way it is and you don’t want to distress it – that is fine! It is totally up to you! This is your creation and if you are planning to keep it you will want to love what you have created! I would recommend that you do sand it down a little bit – once you start sanding it will get the most wonderfully soft feeling finish!! And it will smooth everything out.
Here are a few pictures of my distressing process on this coffee bar:
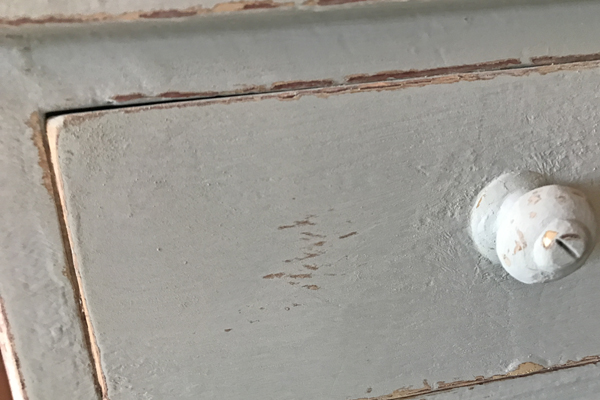
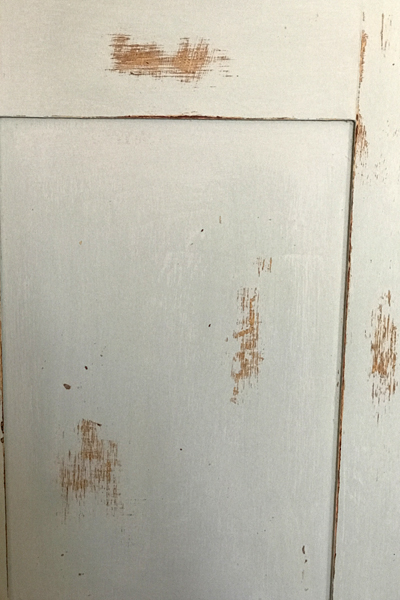
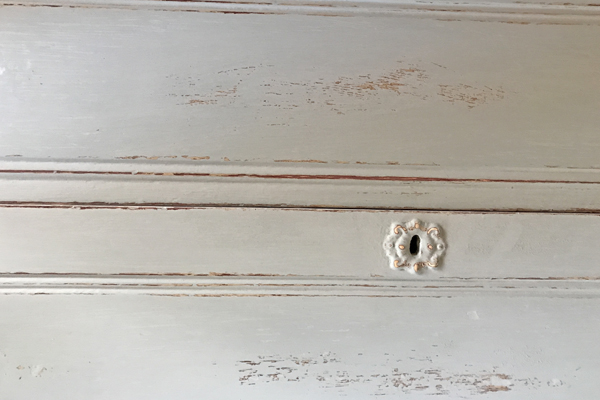
of sanding the gold color popped right out! Beautiful!!
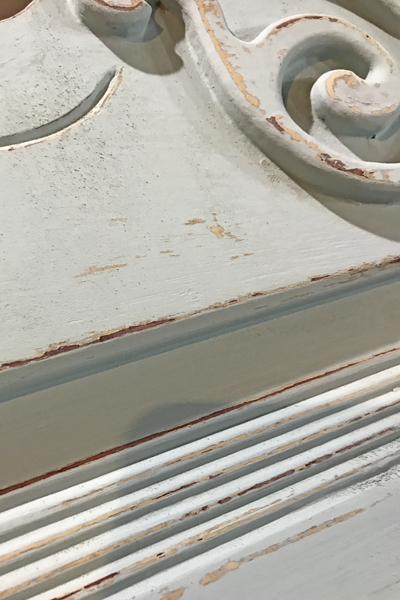
red color showed through as well – to give it a little more dimension.
Now to get all that chalk paint dust off and get onto the wax finish!
Sixth:
In the very first picture of this post you see that this dresser has a mirror. Instead of the mirror I decided to add a chalk board. To do this I simply removed the mirror from the frame and had a piece of thin plywood cut to the same size.
I used black chalk board paint – which is not the same as chalk paint! I painted the board with three coats of paint, letting it dry in between coats. The I sanded it smooth and seasoned it with a piece of white chalk. To season it – you just lay the chalk on it’s side and rub it across the whole board until it is covered good. The you can take a cloth – like a dry wash rag – and wipe it off. This will leave it with a nice chalk board look. Now you can write a fun little message on it to greet the morning coffee drinkers!
PHOTO coming soon!
Seventh: (and final step)
The finish! How do you want to finish or seal your project? This is also a big decision because it will depend on a few things. Where will you use it and what will you use it for? For example, with this coffee bar – I really want to use a wax finish. I love how wax feels and looks when it is finished! There could be a few draw backs to this decision though.
My intention for this piece is to use it as a coffee bar, right? Well, wax can be a bit difficult if you set something hot on it – like a hot cup of coffee. It will leave a coffee cup ring right where you set it down! But I am willing to make a few little adjustments so that I can still wax it! (You can also seal it with another type of sealer which I will show in another tutorial.)
On top of the dresser where the little drawers are – I will add a little piece of plexi-glass on each side! I have a set of antique handmade crocheted doilies that I will put under the plexi-glass to add a little bit of antique style to the top of the piece. Then if someone sets their cup down, it won’t ruin the pretty finish!!
Here it is – the finished product! From Deadbeat old Dresser to the Coolest Coffee bar!! I named it “Cali”!
PHOTO coming soon!
I love my new “Coffee Bar” and I hope this information has been super helpful for you!!
Share with me some of the projects you have been working on! I would love to see your inspiration and creativity at work!! And as always – if you have any questions about your project please email me to let me know! I would be glad to help!
“Keep the paint stirred up and ready!”
Blessings and creativity ~ Joan
P.S. Are you interested in Repurposing your own Chalk Painted project but are not sure where to start? Here are a few more helpful tips:
